Create and save a location reference in a C2Story project
Add a named reading nook in Story Assets, generate its four-view reference sheet, and verify it survives a refresh. Includes the actual description, result and current phone-preview limitation.
What you will make
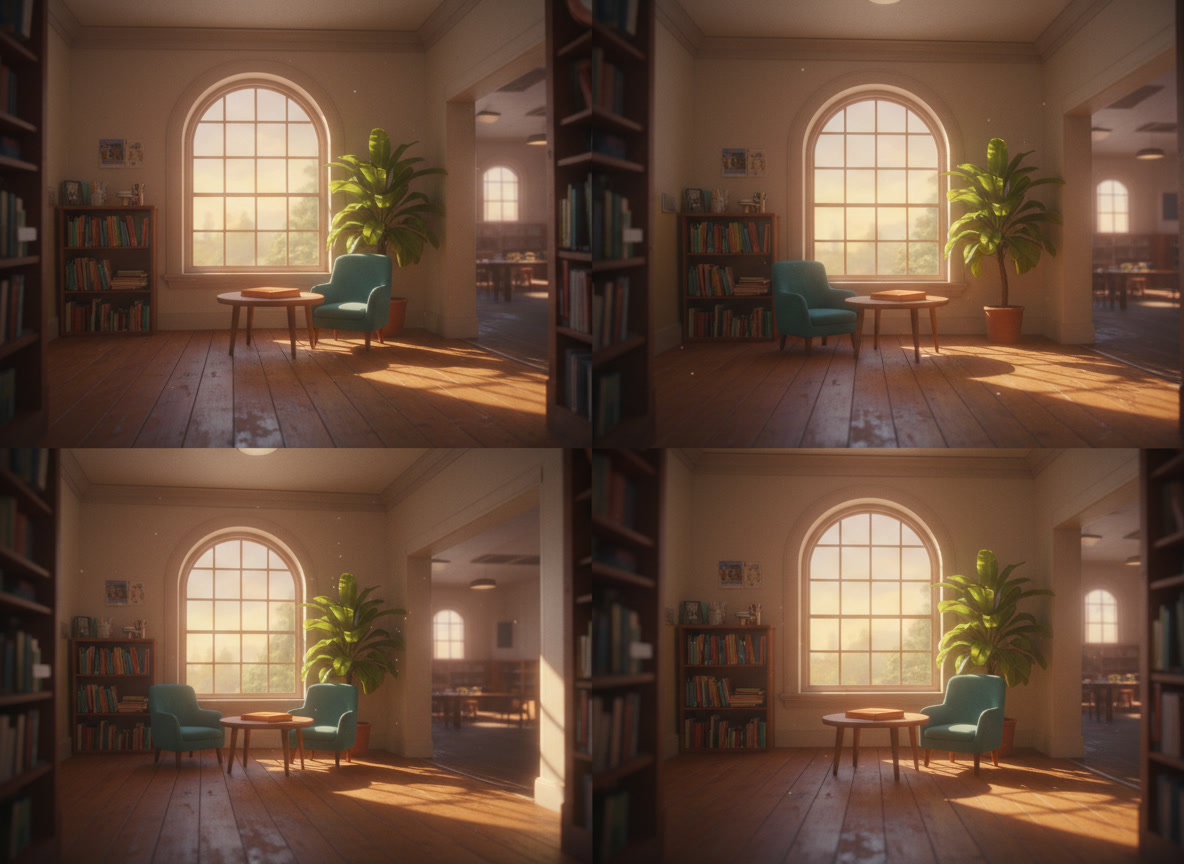
Create one named location reference in an existing C2Story project, generate its image, and reopen it to check that it was saved. Our example is Sunlit Reading Nook, a four-view sheet of an empty library corner.
This is a desktop walkthrough performed on September 21, 2026. The project, The Weight of an Egg, already existed in our account. Its chapters and other assets were pre-existing; only this location was added and generated for this tutorial. We did not create a book, render a video, or test this reference inside a new story page.
You need a signed-in account, an existing project, and enough credits for an image generation. Open your Projects, choose your project, and select Story Assets in the project sidebar.
Step 1 — Open New location
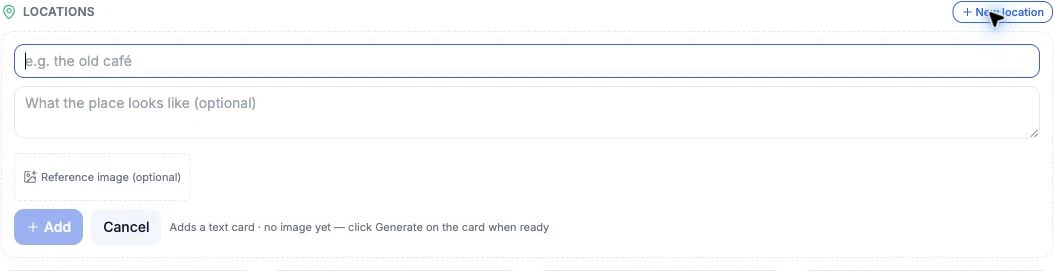
Scroll to Locations and click New location. The form has a name, an optional description, an optional reference-image attachment, and Add.
Notice the message below the form: Add creates a text card first. It does not generate an image yet. That separation lets you define the place before starting generation.
Step 2 — Enter the actual name and description
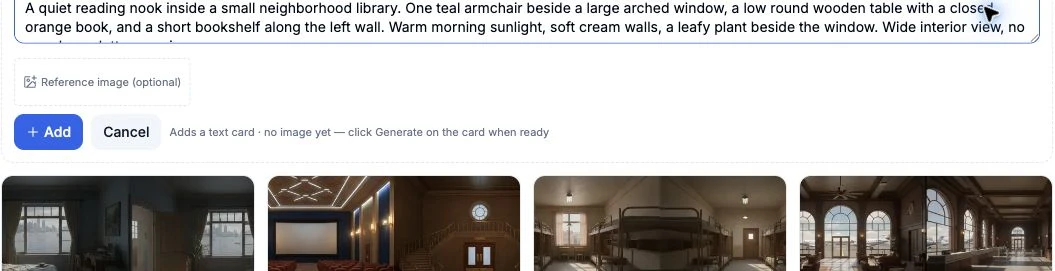
We entered the name exactly as:
Sunlit Reading Nook
The description was:
A quiet reading nook inside a small neighborhood library. One teal armchair beside a large arched window, a low round wooden table with a closed orange book, and a short bookshelf along the left wall. Warm morning sunlight, soft cream walls, a leafy plant beside the window. Wide interior view, no people, no letters or signs.
No reference image was attached. The project already used 3D Animation, shown as pixar on the Story Assets screen; the extra Art direction field was empty. We did not change either during this run.
Click Add. The actual confirmation was “Added Sunlit Reading Nook — click Generate on its card when ready.” The project asset counter changed from 51 to 52.
Step 3 — Generate this location once
The new card initially displayed Generate and “or click to edit the prompt first.” We clicked in the middle of that placeholder, where Generate was shown. Its controls changed to a loading spinner. We waited for this submission and did not submit another generation.
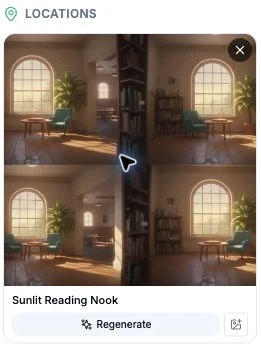
When generation finished, the placeholder was replaced by the image and the card offered Regenerate. We did not use Regenerate all or generate any other project images.
The result is one image containing a 2×2 location sheet, not four story pages. We did not select a page count, video duration, or aspect ratio in this flow. The card had no model picker. Project Settings, inspected after generation, still showed GPT Image 2 and 3D Animation; these were existing project choices, not new selections made here. This records the visible configuration, rather than independently verifying the backend model.
Step 4 — Inspect the image, then reload and reopen
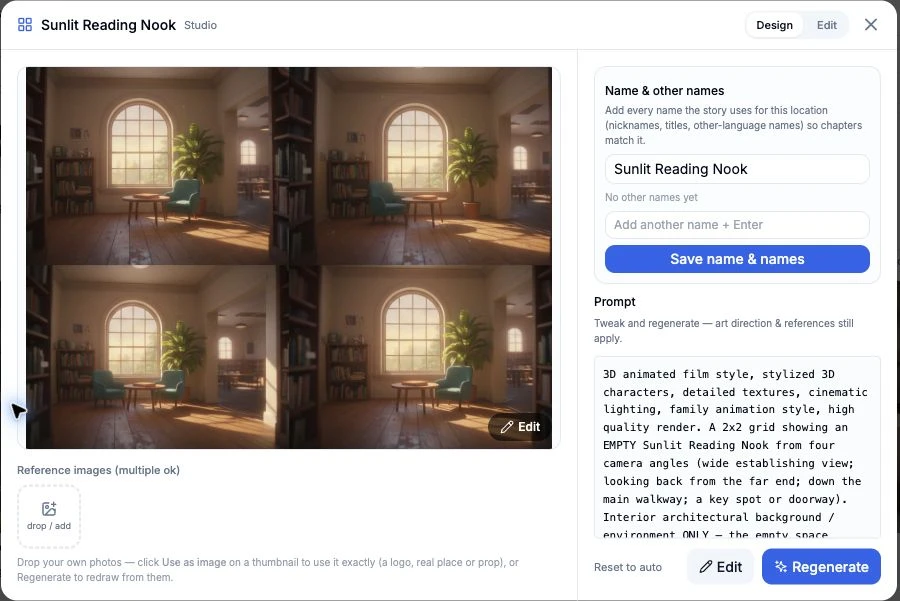
Click the finished image to open its Studio. We then refreshed the project page, found Sunlit Reading Nook again under Story Assets → Locations, and reopened it. The same name, image and auto-built prompt were still present. There was no separate image-save button in this flow: the persisted card and reopened result were our save check. Save name & names is a separate control for editing the asset’s names; we did not need to click it.
The Studio prompt showed that C2Story had wrapped our description in a request for a 3D animated, empty environment presented in a 2×2 grid from four camera angles. That wrapper was product-generated, not text we typed into the creation form.
The image shows warm window light, teal seating, a round table, bookshelves and a plant. It also has limitations: the lower-left view contains two chairs, although our description asked for one, and we could not confidently verify the requested closed orange book. The views vary in furniture placement. Treat the sheet as a saved visual reference, not proof of exact furniture continuity or perfect prompt adherence. No correction or downstream story test was performed in this tutorial.
You can inspect the original generated location image without signing in. The project editor requires its owner’s login; we are not presenting it as a public book or share page. To find your own result later, open Projects → your project → Story Assets → Locations and choose its saved name.
Step 5 — Know the current phone-size limitation
At a 390×844 browser viewport, we reloaded the project, collapsed the project sidebar and context panel, and opened the saved location card. The card thumbnail was visible and the Studio opened.
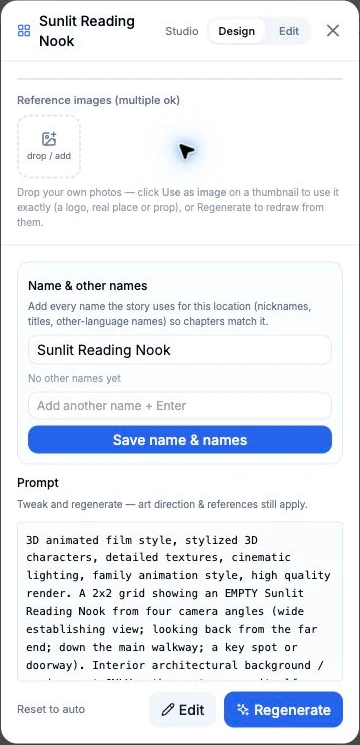
However, the Studio’s large result image was clipped out of the visible preview area. Scrolling up did not restore a usable large preview. The name and prompt controls remained visible, but this phone-size image review did not pass. Use desktop to inspect the large reference sheet. We did not repeat generation on mobile or test a physical phone.
Result and observed cost
The desktop create → generate → reload → reopen flow passed for this one saved location reference. The header balance was 2340 credits before and 2339 after a refresh, an observed net decrease of 1 credit. We did not inspect an itemized billing receipt, so this is a balance observation for this run, not a price guarantee.
The useful stopping point is a saved, findable location reference with its limitations documented. Using it in a generated story page, maintaining exact geometry between views, and producing a completed book or video remain outside this walkthrough.
A first like from an active subscriber gives a community author 1 credit. Likes are permanent; self-likes and repeat rewards are excluded.