
How to Illustrate a Storywith AI — 2026 Guide
You already wrote the story — manuscript, chapter, fanfic, blog post, lesson plan. This is the 6-step walkthrough on the AI illustration side: prompt-craft, character consistency, style discipline, refine loop, print-ready export. Most authors ship a 24-page draft in 2-6 hours.
Time
2-6 hours
Difficulty
No drawing skill needed
Output
Print-ready 300 DPI PDF
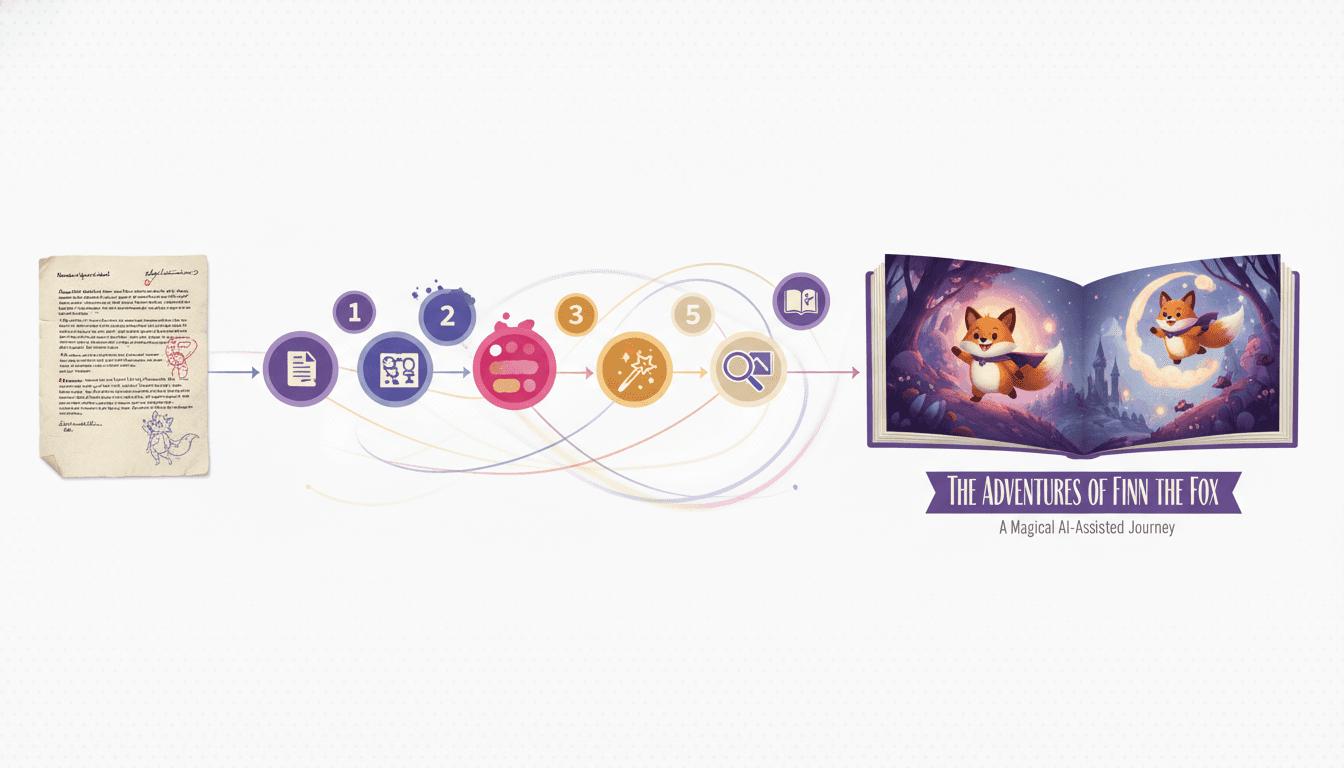
50,000+
Books Illustrated
24-32
Pages Per Book
300 DPI
Print-Ready
4.9/5
Author Rating
What You'll Need to Illustrate Your Story with AI
Five simple things — none of which require drawing skill or professional design experience. Most indie authors finish their first illustrated book in a single weekend.
A written story
Manuscript, chapter, blog post, fanfic, school assignment, or even a one-sentence concept — any length from 200 words to 50,000+
A clear sense of your audience
Picture book (2-7), early reader (5-9), middle grade (8-12), YA, or adult — picks the reading level and visual style
2-6 hours of focused time
A short picture book ships in an evening; a 32-page illustrated middle-grade chapter takes a weekend
A C2Story account
Free credits at signup are enough to illustrate your first picture book end-to-end
Optional: reference art or photos
A sketch of your hero, a Pinterest board, or a phone photo lets the Character Library lock the likeness exactly
The 6 Steps to Illustrate a Story with AI
Read each step, then open the workspace and follow along. The framework works with any AI illustration tool — these instructions assume C2Story because the Character Library makes step 2 effortless.
Step 1: Bring the Written Story In — Any Format
Why it matters: AI illustration only works as well as the source text. The first step isn't prompting — it's getting the story into the workspace cleanly.
How to do it: Drop your story in whichever format you have. Paste a manuscript from Word or Google Docs, upload a .txt or .docx, drop a chapter from a longer novel, or even paste a blog post or fanfic chapter. C2Story auto-segments your text into illustration-ready scene beats — usually one beat per spread, around 80-200 words. If your story is rough or stream-of-consciousness, run a one-click cleanup pass first; the AI tightens prose without changing voice. If your story is a single sentence ("a young hero discovers a glowing forest"), C2Story expands it into a full 24-page arc you can then illustrate.
Pro tip: You don't need to format chapters or strip metadata. Just paste — the segmenter handles the rest. Five thousand words is the sweet spot for a 24-32 page illustrated book.
Step 2: Build Your Character Library Before You Illustrate Anything
Why it matters: This is the single biggest reason DIY AI-illustration attempts fail. Generic image tools re-roll your hero's face on every prompt — your protagonist looks like a different person on every page.
How to do it: Before you generate a single illustrated spread, define each character once. For your protagonist, sidekick, mentor, antagonist, animal companion — describe full appearance (hair, eye color, skin, age, signature outfit, accessories, distinguishing marks) and personality. Optionally upload a reference photo or concept-art sketch. Save them to your Character Library. The same hero, the same fox sidekick, the same elder mentor, the same villain will appear recognizable across every spread of every chapter — and across future books in the same series. Without a library, you'll spend 80% of your time fighting character drift and never finish.
Pro tip: Don't skip secondary characters. The hero's pet, the recurring shopkeeper, the rival school — kids and readers notice immediately when they shapeshift between pages.
Step 3: Pick One Art Style and Lock It for the Whole Book
Why it matters: A book reads as a single visual world. If pages 1-12 are watercolor and 13-24 are 3D Pixar, it looks like a collage — not a published book.
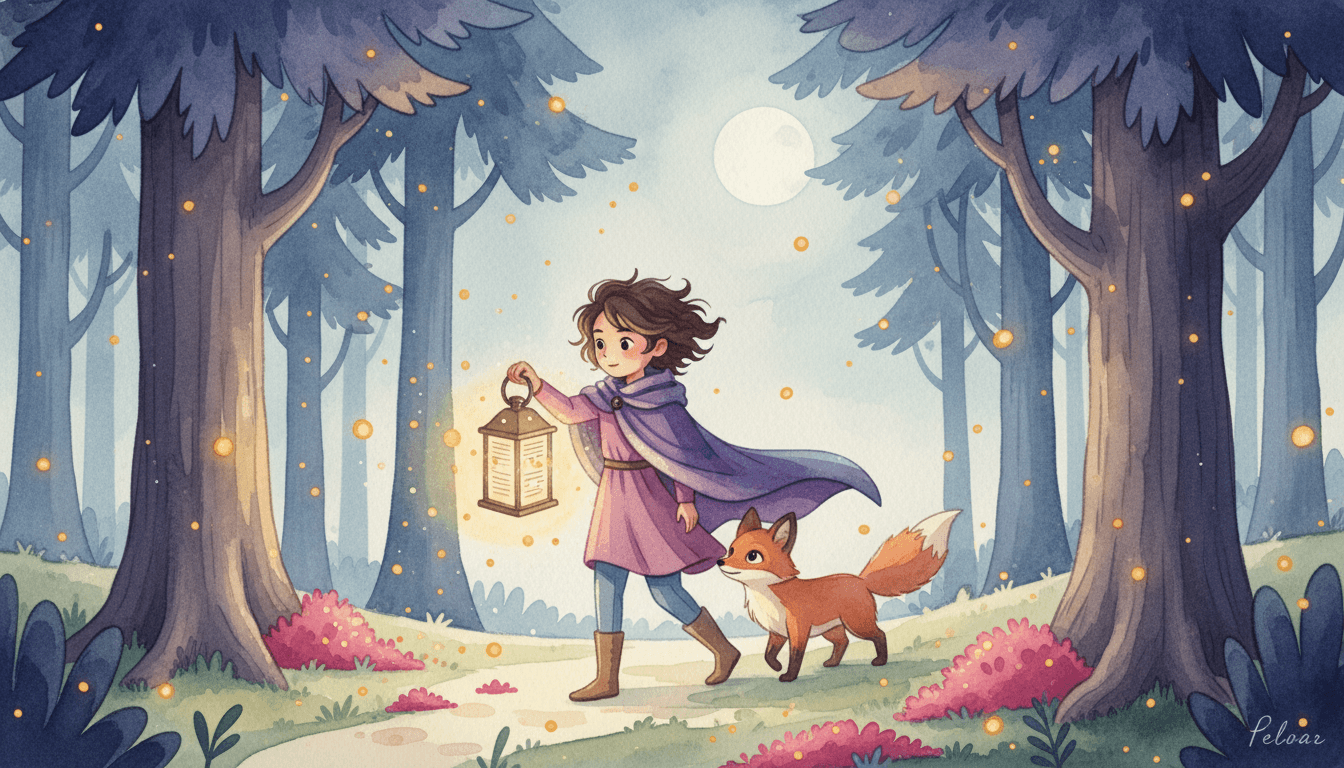
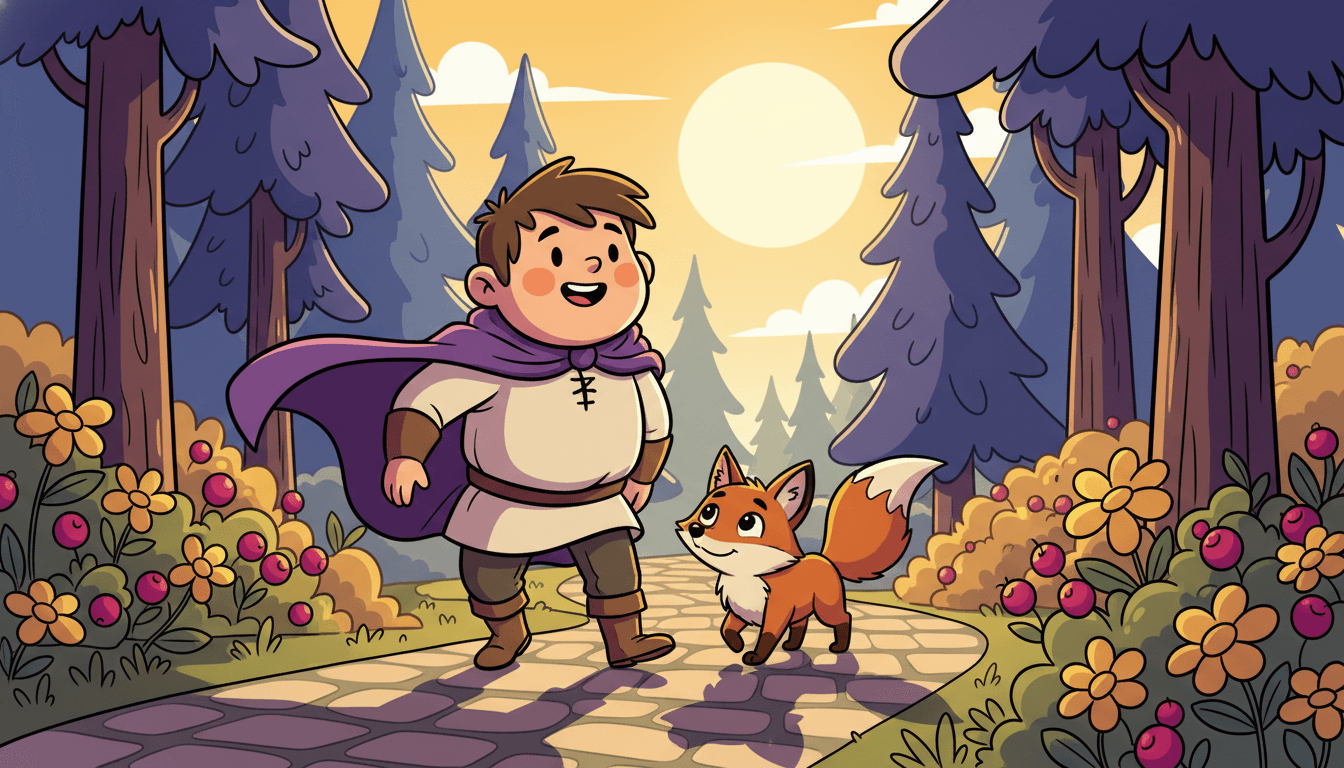
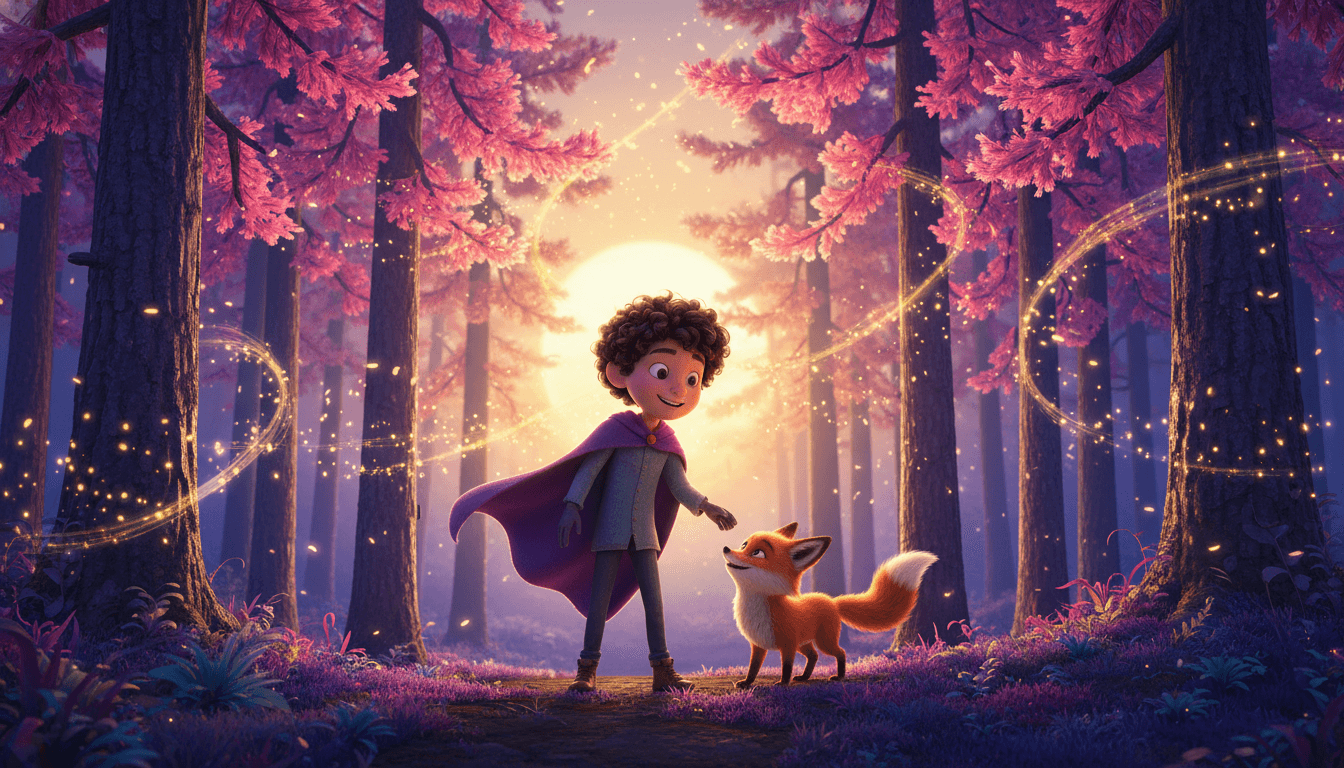
How to do it: Audition styles before committing. Render your protagonist in 4-6 different styles — soft watercolor for gentle/literary tone, bright cartoon for adventure/humor, modern Pixar 3D for upper-elementary or family heroes, classic storybook for fantasy/heritage tales, gentle anime for emotion-led stories, modern flat-vector for clean editorial. Match the style to your story's tone, audience age, and reading mood. Once chosen, lock the style for every page in the book — and ideally across the whole series. C2Story's style lock keeps the rendering settings, color palette, and brushwork consistent across every regenerated page.
Pro tip: Save the style choice to the project. The Character Library carries the style with it, so re-illustrating a single page months later still matches the rest of the book.
Step 4: Write Better AI Prompts: Scene + Composition + Mood
Why it matters: Generic AI tools want you to write the whole prompt manually. The result is bland, miss-and-hit, and exhausting. Good AI illustration uses the story text itself as the prompt foundation.
How to do it: C2Story parses each scene beat into structured prompt tokens automatically — scene location, time of day, lighting, character poses, emotional mood, color palette, and composition (close-up, medium, wide). You just refine the parts you care about. Specific things you can tune per page: camera angle ("low angle hero shot"), lighting ("backlit golden hour"), composition ("rule-of-thirds with hero on the left"), mood ("hopeful, soft, gentle"), and palette ("warm amber and soft sage"). For tense or pivotal pages, you can override defaults; for routine connective spreads, let the AI handle it. The Character Library is automatically injected into every prompt — you never have to re-describe your hero.
Pro tip: Pivotal scenes (cover, climax, ending spread) deserve hand-tuned prompts. Connective spreads (transitions, walks, day-to-day) can use defaults. Don't over-prompt every page.
Step 5: Run the Refine Loop on the Pages That Miss
Why it matters: AI rarely nails every page first try. The refine loop is what separates a published-quality book from a rough first draft.
How to do it: Generate the full draft. Read it cover-to-cover as if you were a reader. Mark pages where the illustration misses the moment, the lighting is wrong, the composition feels off, or a character's pose doesn't match the action in the text. For each marked page, regenerate with a one-line note ("make the hero look braver", "soften the lighting", "pull camera back to show the forest"). The Character Library keeps everyone consistent across regenerations — you're only changing the page, not rebuilding the cast. Most authors do 2-3 regeneration passes per page, focused on 20-30% of the book; the other 70-80% works on the first try.
Pro tip: Print the draft to PDF and read it on paper. Misses jump out on paper that you completely miss on screen — color, composition, and reading flow all change in print.
Step 6: Export Print-Ready or Share Digital
Why it matters: A finished illustrated book lives in two formats: a print-ready PDF for hardcover/paperback, and a digital format for online sharing.
How to do it: When the book reads cleanly, choose your export. For digital, share as a PDF, an ePub, or a shareable web link. For print, export at 300 DPI with full-bleed margins and CMYK color profile — that's the standard for Amazon KDP, Lulu, IngramSpark, Blurb, BookBaby, and your local print shop. C2Story bakes the bleed, gutter, and trim into the export so you don't have to set them up in InDesign. Order one printed proof copy first to verify color, trim, and gutter on paper. Then publish the run — keepsakes, gifts, classroom orders, KDP listings, or convention sales.
Pro tip: Always order one proof copy before doing a print run. Color shifts and trim line-up look different on paper than on screen — saves $20-100 in reprint costs every time.
Six Tokens That Make AI Illustrations Look Professional
Generic AI tools want you to handcraft full prompts. C2Story parses your scene text into these structured tokens automatically — you only refine the parts that matter for each page.
Scene & location
"Moonlit forest clearing", "bustling marketplace at dusk", "small kitchen with morning light". Sets the where.
Composition & camera
Close-up, medium, wide. Low-angle hero shot, over-the-shoulder, eye-level. Rule-of-thirds. Sets the visual rhythm of the page.
Lighting & time of day
Golden hour, blue hour, candlelit, overcast, backlit. Lighting is what makes AI illustrations look professional vs. flat.
Color palette
Warm amber and soft sage. Cool indigo and silver. Pastels. Earth tones. Locked palette per book = visual consistency.
Character pose & expression
"Hero looking up in awe", "sidekick laughing in the background", "villain stepping out of shadow". Auto-pulled from your Character Library.
Mood & emotion
Hopeful, gentle, suspenseful, joyful, melancholy. The single token that most changes how a page reads.
6 Common Mistakes When Illustrating a Story with AI
Most failed AI-illustration attempts fail for one of these six reasons. Skip the pain.
Skipping the Character Library and prompting characters from scratch every page
Fix: Build the cast once. The library injects character descriptions into every prompt automatically — you never re-describe your hero.
Mixing art styles between pages
Fix: Pick ONE style and lock it for the whole book. Style-mixing is the visual equivalent of jumping POV mid-chapter.
Over-prompting every single spread
Fix: Hand-tune the cover, climax, and final spread. Let defaults handle connective pages. Save your energy for the pages that earn it.
Trying to illustrate a 50,000-word novel as one picture book
Fix: Pick ONE chapter or arc. The rest become future volumes. Picture books work at 24-32 pages — match the source to the format.
Generating once, accepting the first draft, and shipping it
Fix: Run the refine loop on 20-30% of pages. Regeneration is fast and the Character Library keeps consistency.
Skipping the printed proof and ordering 50 copies for an event
Fix: Always order one proof first. Color, trim, and gutter look different on paper. Saves $20-100 in reprint costs every single time.
From Manuscript to Illustrated Spread — In Pictures
See what each step looks like in practice. The same hero, the same sidekick, the same villain — page after page, book after book.
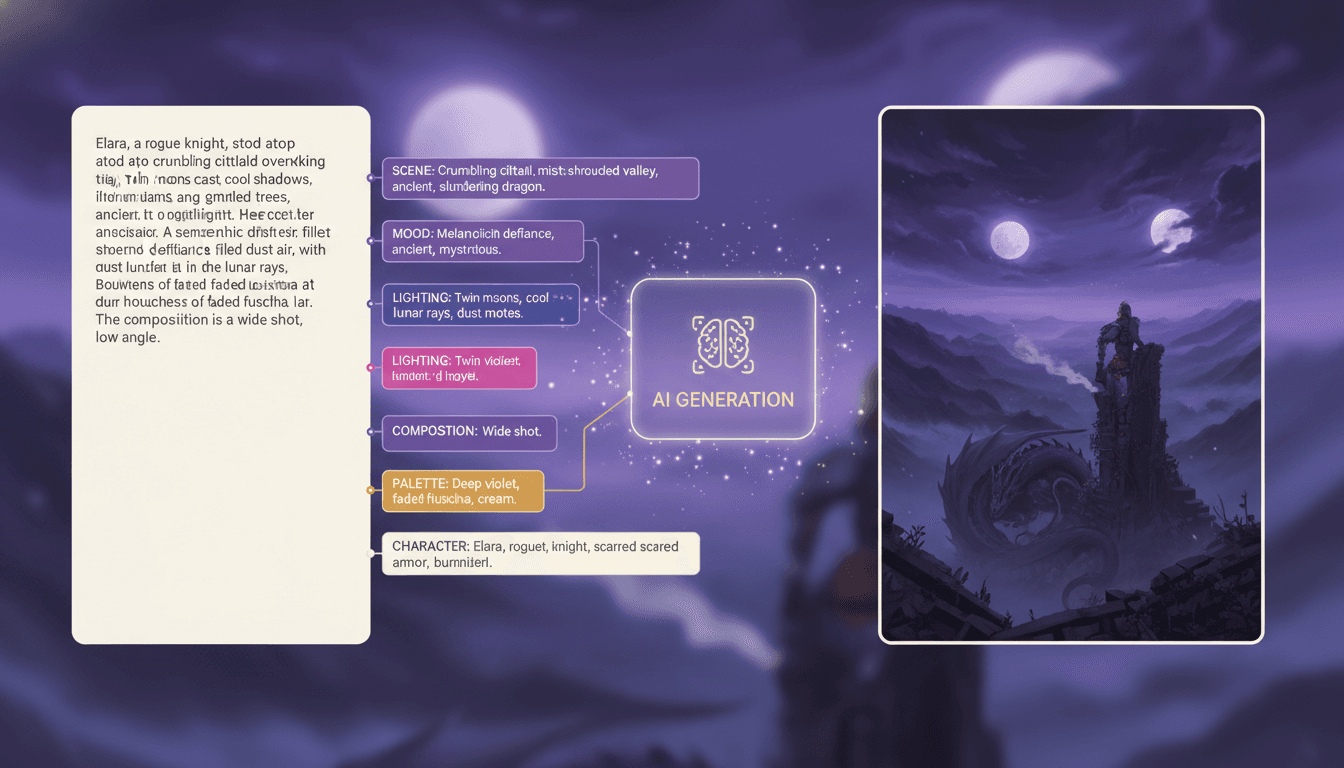
Prompt-craft from your text
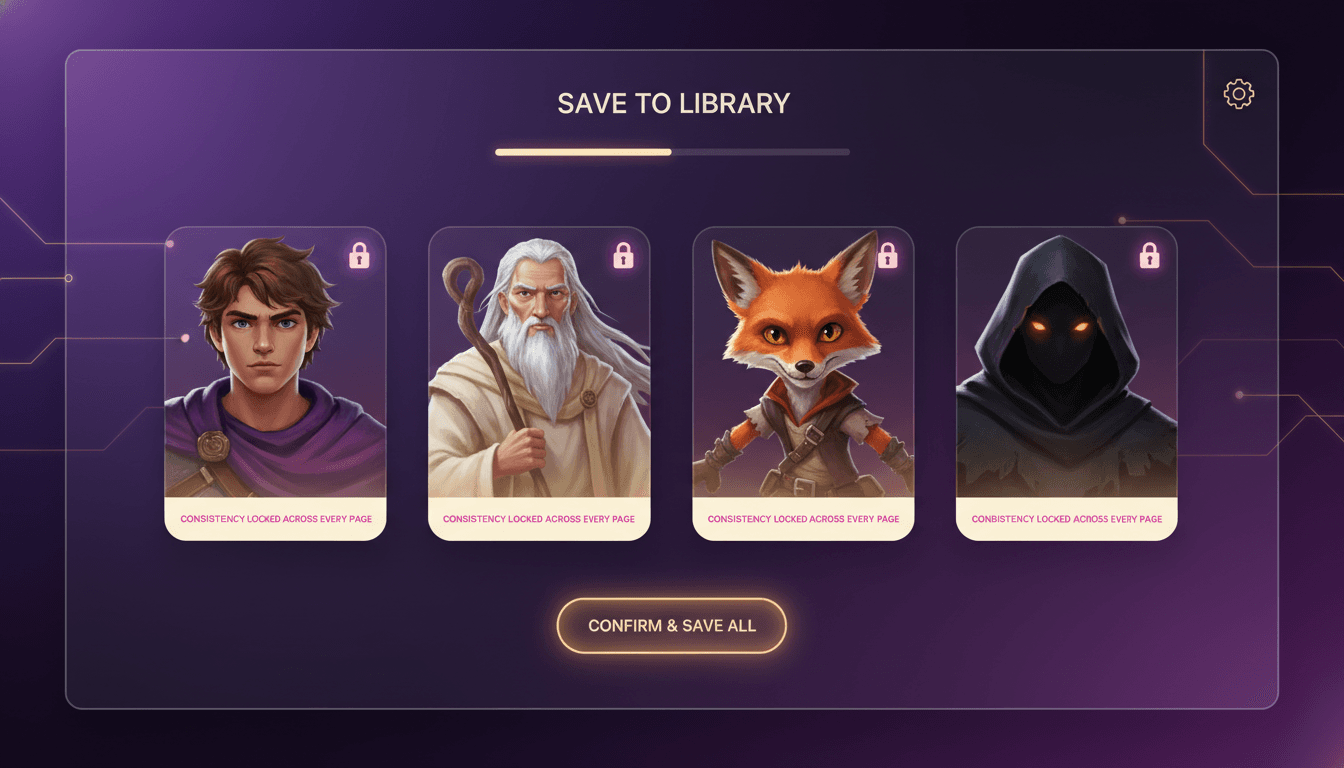
Lock the cast in the library
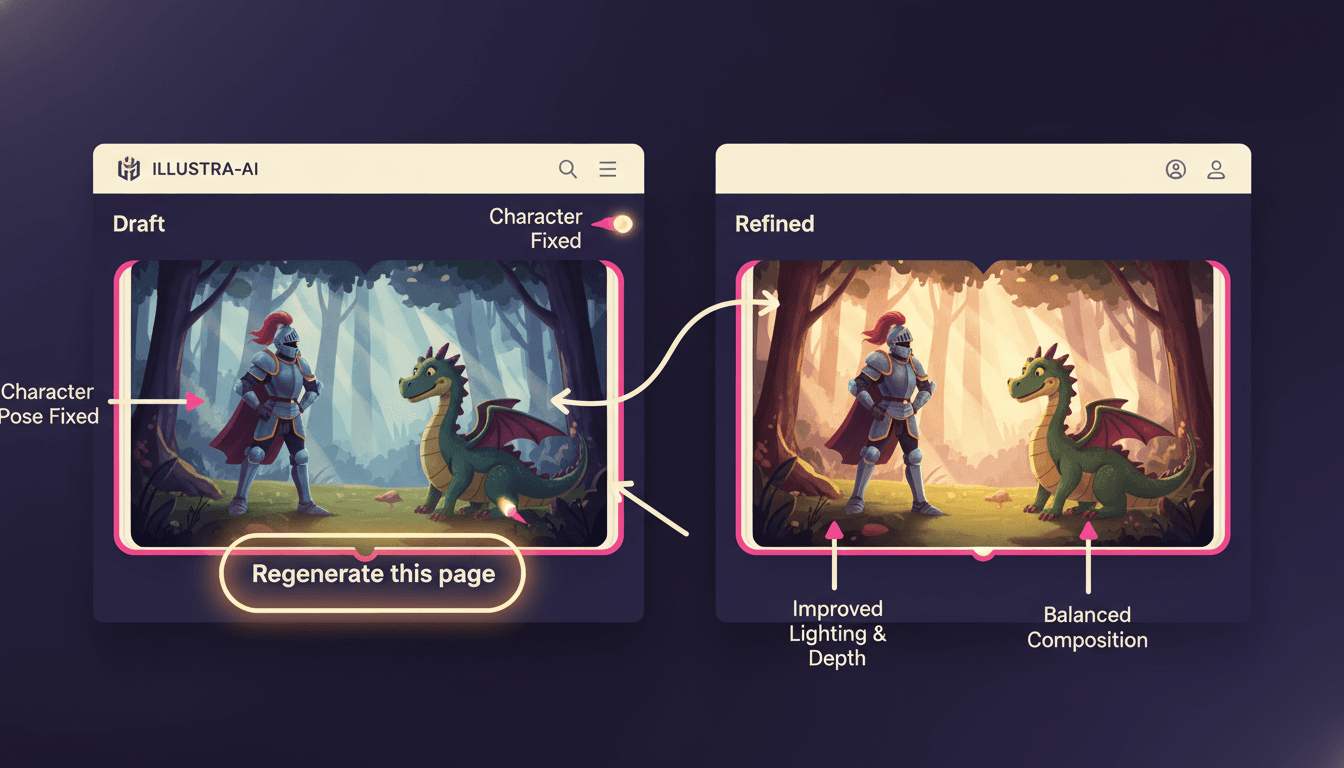
Refine the pages that miss
Same Hero, Five Different AI Illustration Styles
Render your protagonist in each style before committing. Match the style to your story's tone and audience age — and lock it for the whole book.


Four Ways to Illustrate a Story
Honest comparison of the four most common approaches — what each one is good at, what it costs, and where each one breaks down.
| Method | Time | Cost | Character Consistency | Best For |
|---|---|---|---|---|
Hand-illustrate it yourself | 6-18 months for a single book | $0 in supplies, hundreds of evenings | Depends on your skill level | Pure-craft heirloom projects or art-led illustrators |
Hire a professional illustrator | 4-12 months turnaround | $3,000 - $30,000 for a 24-page book | Excellent — but expensive and slow | Premium publishers and well-funded indie projects |
Generic AI image tools (Midjourney, DALL·E, Stable Diffusion) | 20-80 hours of trial and error | ~$10-30/month in subscriptions | Poor — characters drift on every prompt | A single hero portrait, a cover, or one-off pieces |
C2Story (purpose-built story-illustration AI) Recommended | 2-12 hours for a full draft | Free credits to start, $6.99/month for unlimited | Excellent — Character Library locks every face across pages | Indie authors, fanfic creators, teachers, picture-book makers — the actual finished book, fast |
Tools to Help You Illustrate Your Story
The walkthrough above works with any AI illustration setup. These C2Story tools cover the most common starting points.
AI Illustrate My Story
Drop your story, get back a fully illustrated book — same hero on every page.
Story to Illustrated Book
Take any written story and turn it into a finished illustrated picture book end-to-end.
Text to Picture Book
Paste your text and watch it become a paginated, illustrated picture book.
Novel to Picture Book
Long-form novel, illustrated. Pick the chapter, set the cast, ship the book.
AI Illustration Generator
Standalone illustration generator for one-off scenes, covers, and concept art.
Self-Publish a Children's Book
Take your illustrated book all the way to KDP, Lulu, IngramSpark, or Blurb.
Authors Who Followed This Guide
“I had a 6,000-word picture-book manuscript sitting in a Google Doc for two years because I couldn't afford a $5,000 illustrator. Followed this guide on a Saturday — built the cast in the Character Library, picked watercolor, ran the refine loop on 8 pages. Hit "publish" on KDP that Sunday night.”
Indie picture-book author
“I write fanfic and tried Midjourney for a year. Every chapter the protagonist looked like a different person. Switched to a tool with a real Character Library, and finally my OC stays the same person across 12 illustrated chapters. The refine loop on the climax spreads is what made it look professional.”
Fanfic illustrator
“I'm a 4th-grade teacher and we wrote a class story together. Used the prompt-anatomy framework from this guide — scene, composition, mood, lighting — to teach the kids what makes a good illustration. They picked the styles themselves. Printed 24 copies for the parents and they cried.”
Elementary teacher
“Self-publishing my middle-grade chapter book. The lock-the-style step is what nobody else explains — once I committed to one style for the whole book it stopped looking like a Pinterest collage and started looking like a real published book. Sold 200 copies at a school book fair last month.”
Middle-grade self-publisher
How to Illustrate a Story with AI — FAQ
Explore More Story Ideas
Discover more styles, tools, and story types

Camping Stories
Tents, campfires, hiking and starry nights
Explore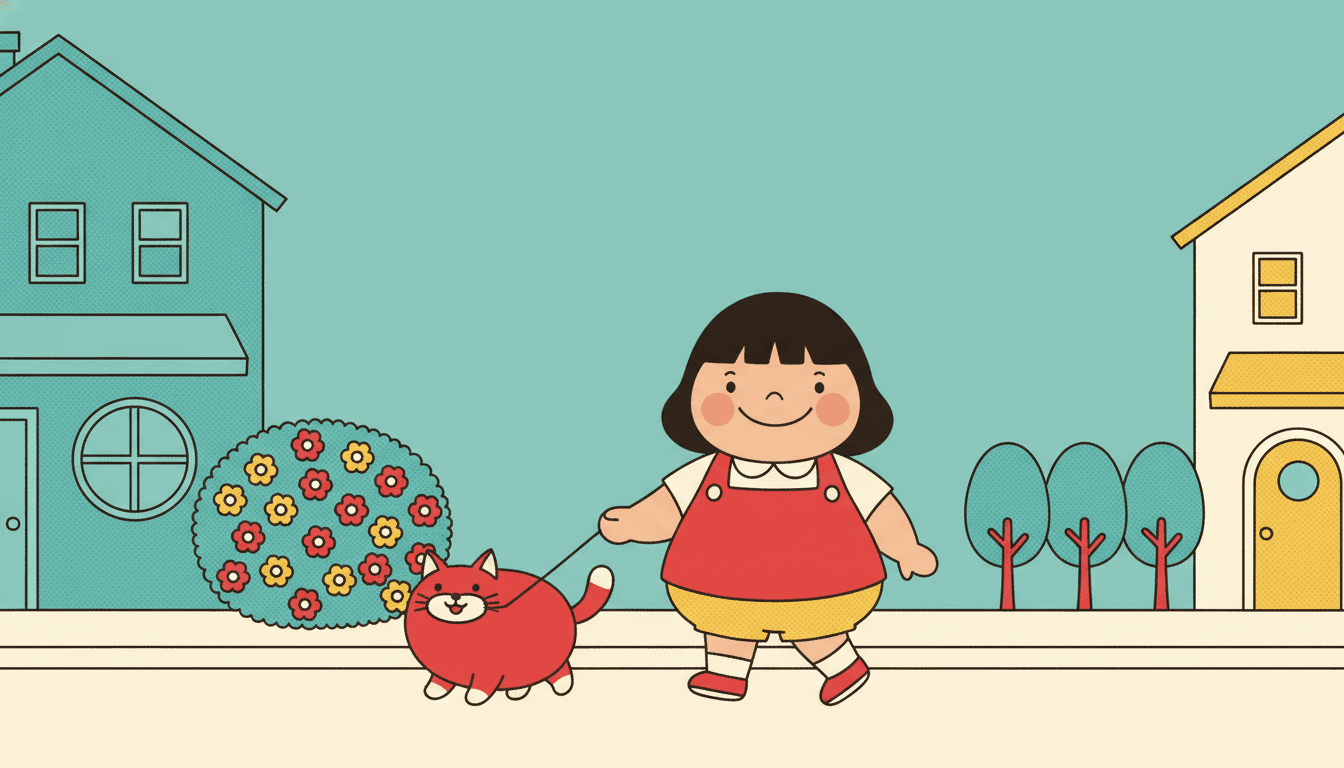
Showa Retro Picture Books
Plump characters & flat bright printed colour
Explore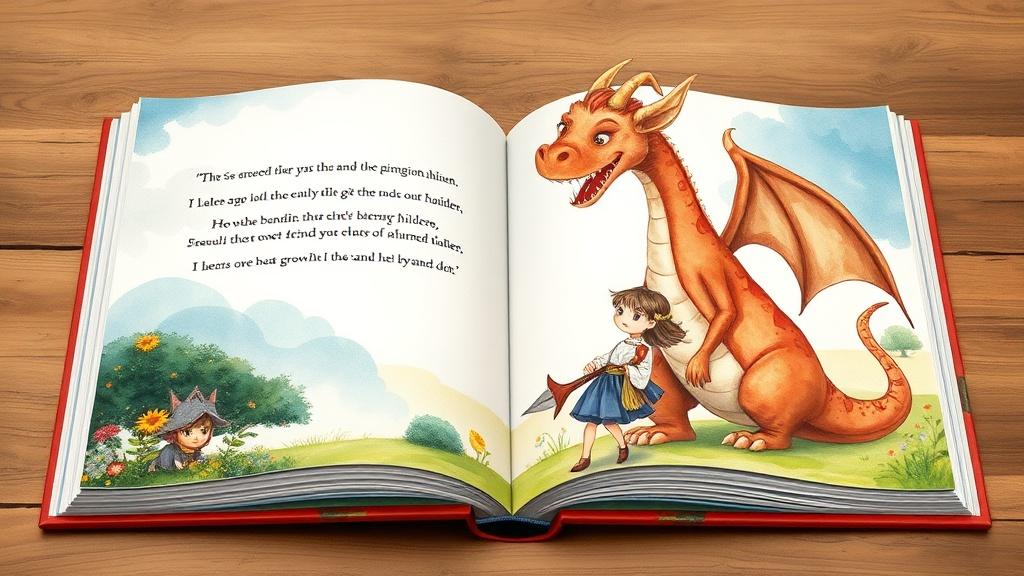
AI Story Generator
Generate complete stories with AI
Explore
ChatGPT vs C2Story
Purpose-built for picture books
ExploreHow to Illustrate a Story with AI — The 2026 Complete Guide
Wondering how to illustrate a story with AI in 2026? This step-by-step guide is written for indie authors, picture-book makers, fanfic creators, teachers, lesson-plan writers, self-publishers, and anyone else who already has a written story — a manuscript, a chapter, a blog post, a school assignment, a fanfic — and wants a clear walkthrough to turn it into a finished, fully illustrated book in 2 to 6 hours. You don't need drawing skill, formal design training, or any prior publishing background. The six-step framework is the same one used by tens of thousands of indie authors to ship full picture books, illustrated middle-grade chapters, and graphic novellas in a single weekend.
The single biggest mistake people make when figuring out how to use AI to illustrate a story is starting with prompt-craft instead of cast-craft. Generic AI image tools like Midjourney, DALL·E, and Stable Diffusion are designed for one-off images, which is why your protagonist looks like a different person on every page. The fix is a Character Library that locks the appearance, outfit, accessories, and personality of every character once — and then injects those descriptions into every prompt automatically. C2Story is the only purpose-built story-illustration AI with this feature: define your hero, sidekick, mentor, animal companion, and antagonist once, optionally upload a reference photo or sketch, and the same recognizable cast appears on every spread of every chapter.
The second biggest mistake is style-mixing — pages 1-12 in watercolor and 13-24 in 3D Pixar look like a Pinterest collage rather than a published book. The fix is to audition styles before committing: render your protagonist in 4-6 different styles (soft watercolor for gentle bedtime stories and literary picture books, bright cartoon for adventure and humor, modern Pixar 3D for upper-elementary heroes, classic storybook for fantasy and heritage tales, gentle anime for emotion-led stories, modern flat-vector for clean editorial work) and then lock the chosen style for the entire book. Combined with structured prompt tokens (scene, composition, lighting, mood, palette, character pose) and the refine loop on the 20-30% of pages that miss on first generation, the result is a finished AI-illustrated book that looks like it was made by a single illustrator over months — finished in a weekend.
When the book reads cleanly, export print-ready at 300 DPI with full-bleed margins and a CMYK color profile — the standard for Amazon KDP, Lulu, IngramSpark, Blurb, BookBaby, and most local print shops. Always order one printed proof copy first to verify color, trim, and gutter on paper before committing to a print run. Then publish: list it on KDP, sell at conventions, fulfill school book-fair orders, gift a hardcover copy to grandparents, or share digitally as a PDF, ePub, or web link. Start the illustrate book with AI walkthrough free today — no credit card required, free credits at signup, and the Character Library, style lock, refine loop, and 300 DPI print-ready export are included from your very first book.